

If a cover blocks your view of a bracket, hide it only when you no longer need its position as a reference. In the CADProps STEP viewer, you can make the cover transparent and leave the bracket opaque. This lets you see the bracket in relation to the cover and the surrounding parts.
Make the cover transparent
- Open the assembly and choose Structure. Find the cover and click its row. Check the highlighted occurrence, especially if several components have the same name.
- Right-click the cover in the model view and choose Make transparent. If you have multiple parts selected, clear that selection first so the change applies only to the cover.
- Rotate the model until the detail is easy to see. To restore the cover, right-click it again and choose Make opaque.
- For an overview of the whole assembly, choose Display → Model effect → Transparent. Use Solid edges to help distinguish overlapping outlines.
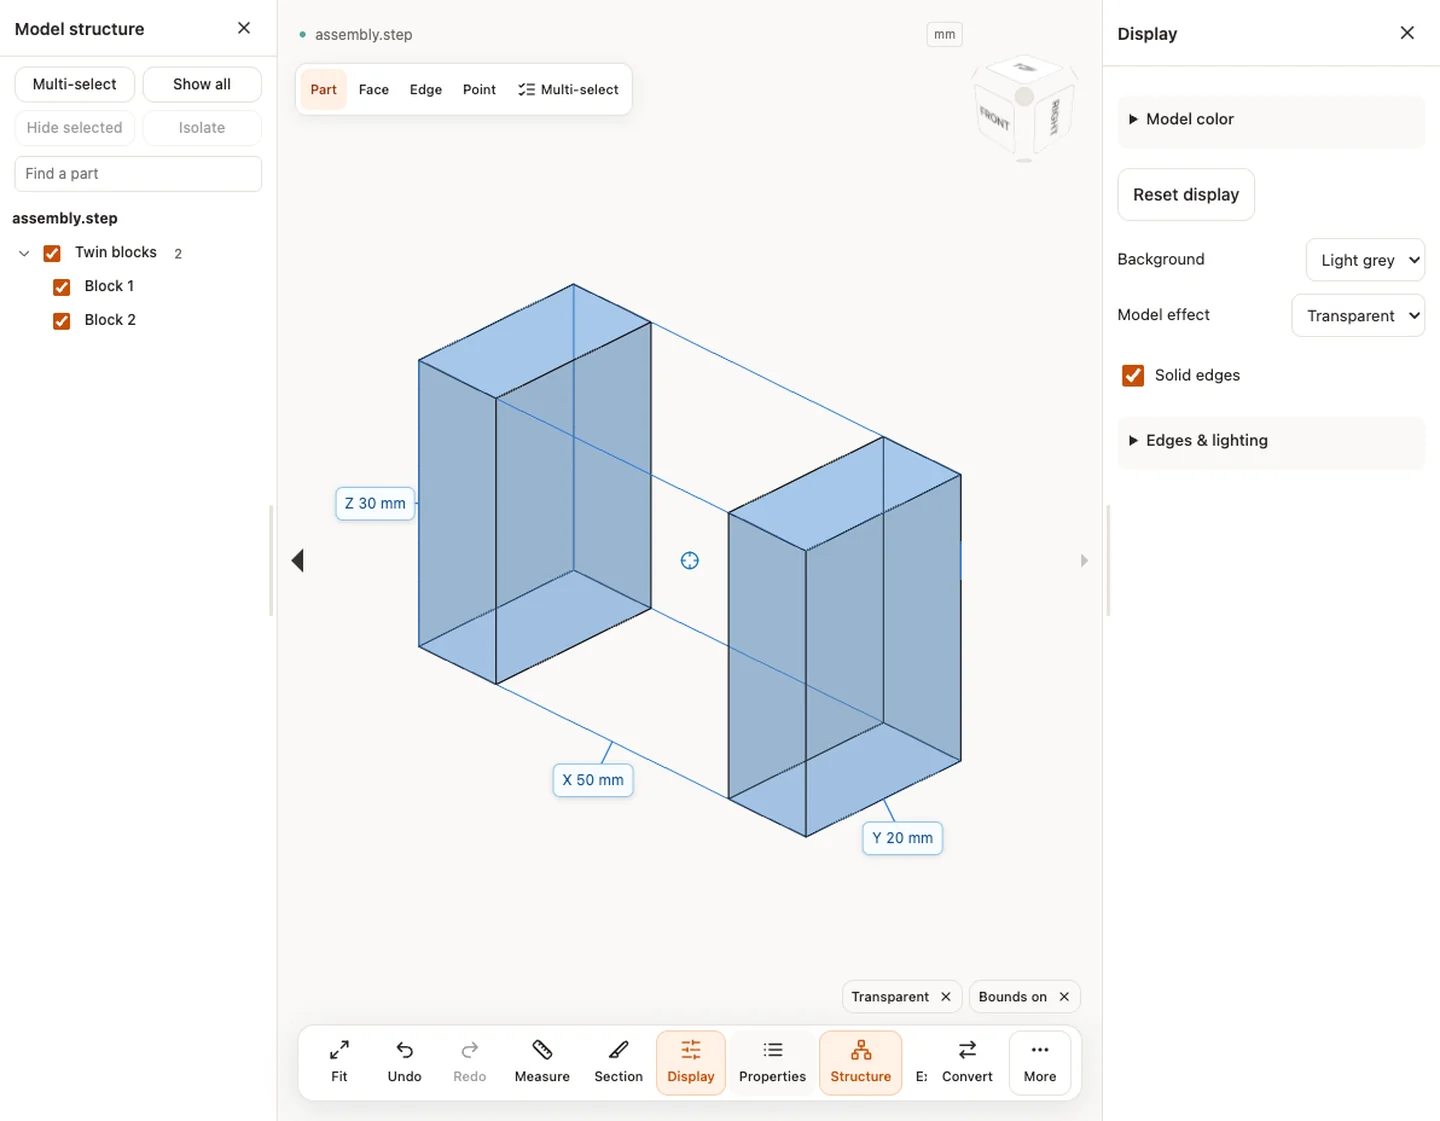
Choose the view that answers the question
| What you need to see | Which control to use |
|---|---|
| A bracket and where it sits relative to its cover | Make just the cover transparent. |
| The bracket with nothing else in the way | Isolate the bracket. |
| The inside of a single solid or the path of a bore | Position a section plane. |
For example, a cable gland might look directly behind a cover hole in the front view. Rotate to a second view before deciding the two line up. A transparent view helps you locate both features. If the decision depends on their spacing, measure the actual features using supported geometry and compare with the drawing. The change in appearance leaves the source assembly and the export geometry intact.
Original article: CADProps · https://www.cadprops.com/guides/make-step-assembly-part-transparent/